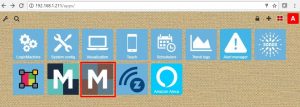
LogicMachine Cloud solution
Example: LogicMachine Cloud solution (beta)
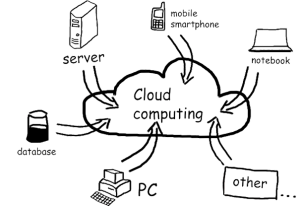
Task
This example shows how to control/monitor specific objects (KNX, ModBus, BACnet, EnOcean, DALI, DMX512, BLE, etc.) on LogicMachine from Android device located anywhere on the internet.
Some notes:
1. LM can be located in LAN with local IP, no public IP is required, no VPNs, no NAT is required on the router
2. You can specify which specific objects can be controlled from the cloud (not the whole installation with sensitive objects e.g. security). These objects are synced with cloud server via secure MQTT connection, almost in real-time
3. This solution uses a native Android app to access cloud
Steps
- 1. Install the latest firmware in LogicMachine: https://openrb.com/firmwares/
- 2. On LM’s main screen click on Admin icon, login with admin password
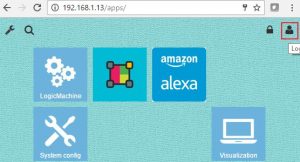
- 3. Click on + icon to access app store
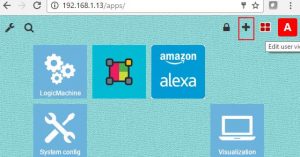
- 4. Click on Menu -> Apps and make sure yo update or install Mosaic 2.0 app
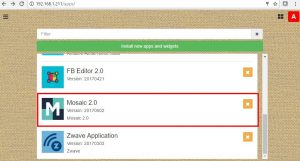
- 5. Reboot LM in System config -> System -> Reboot
- 6. Click on the newly installed Mosaic editor icon
- 7. Click on the top-right menu icon and choose Cloud (beta)
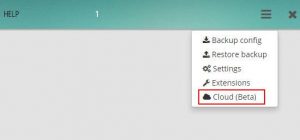
- 8. You will see the following screen. Click on Register New User, use email address as username and password minimum 8 symbols. Save

- 9. Then click on Sign In, and login with registered user. You can set LM name which you will use to find the device on the cloud dashboard (there is possibility to assign several devices to one user account. You will be able to choose the LM to control from cloud dashboard)
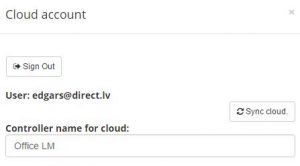
- 10. Sync Cloud button will synchronize with cloud all Mosaic elements including objects, widgets etc. After each change in Mosaic configuration (grp addresses, new widgets etc.), you need to click Sync Cloud button.
- 11. Create cloud visualization by adding widgets and defining group addresses. You can create several Rooms and when in room, you click on Add New Widget button. After this is done, click Sync. Cloud button
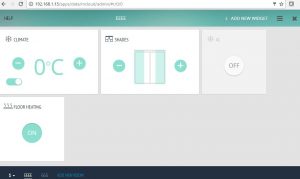
- 12. Download LogicMachine app from iOS or Android store. Alternatively you can connect to cloud using cloud.logicmachine.net
- 13. Open installed LogicMachine app on mobile device
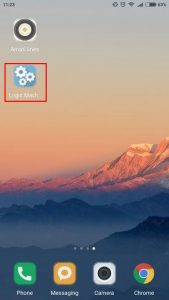
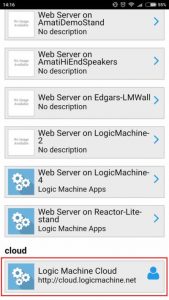
- 14. You can find all LMs which are in your network, choose any and you are connecting directly to it (regular local way). If you click on the cloud you will get to the cloud main screen with Mosaic visualization which you created for cloud usage
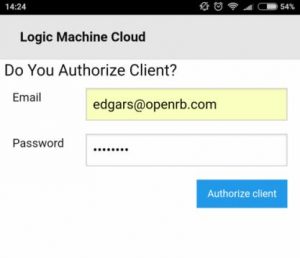
- 15. Then authorize with your login/password
- 16. Cloud first screen looks like this. In the future we will add some more cloud specific applications. Click on Mosaic icon which will bring you to your created LogicMachine Mosaic interface
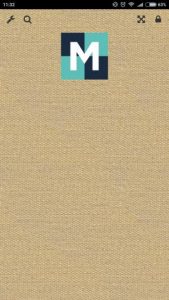
- 17. Cloud interface of your LogicMachine
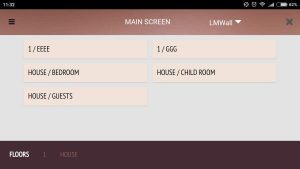
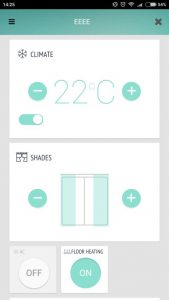
- 18. You can switch to other LogicMachine mapped to your account by choosing it in drop-down list on the top
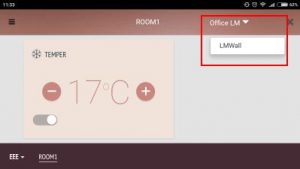
- 19. You can also login to cloud from web browser in link: https://cloud.logicmachine.net and access your LogicMachine from any place in the world.
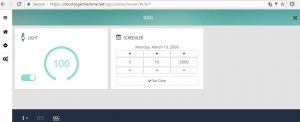
- 20. You can check Mosaic20_custom-widgets_instructions.ZIP file which contains manual how to install widget extensions and several Widget examples. Mosaic_widgets_eng.PDF contains manual on how to create your own Widgets.
- 21. Please see instructions for adding custom themes / CSS for your Mosaic visualization. Download sample theme here.
