Create visualization for iPad/PC
Example: Create visualization for iPad/PC
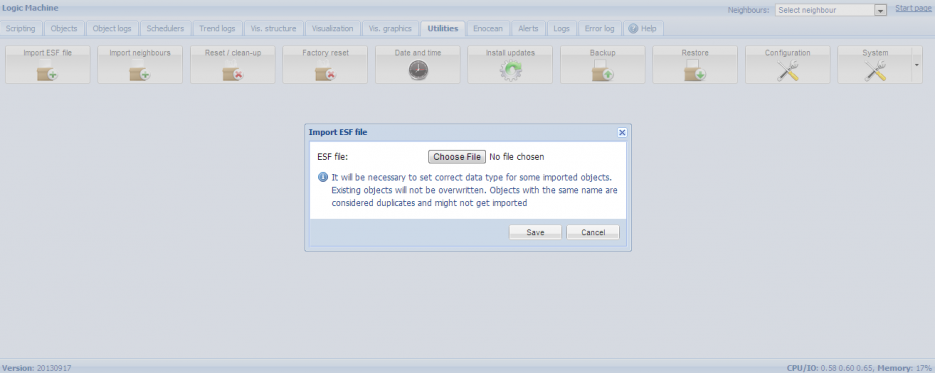
Backup
You can download here the backup of all configuration with all backgrounds and icons shown below and import them to your Logic Machine through Logic Machine –> Utilities –> Restore. Please note that all previous configuration will be lost. You can freely adapt and use this design in your projects made on Logic Machine series products
Import objects
- Connect to Logic Machine (Logic Machine) with default access parameters (IP: 192.168.0.10; login/password: admin/admin)
Create backgrounds for your visualization in Photoshop or any other program, e.g.:
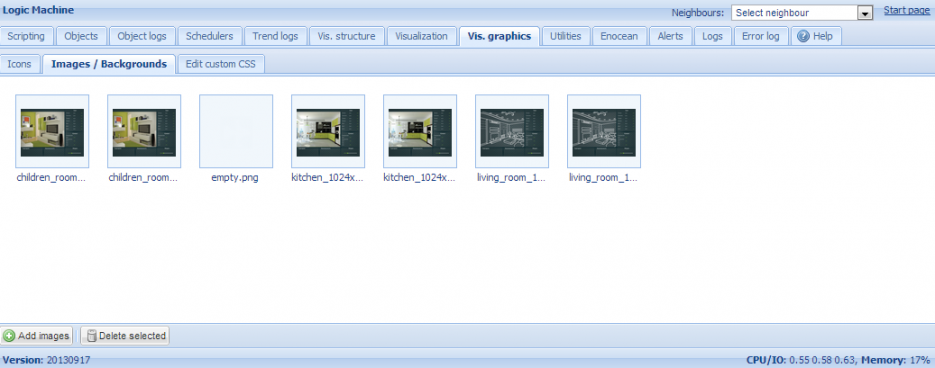
Add created backgrounds in Logic Machine –> Vis.graphics –> Images/Backgrounds
Add necessary icons in Logic Machine –> Vis.graphics –> Icons
![]()
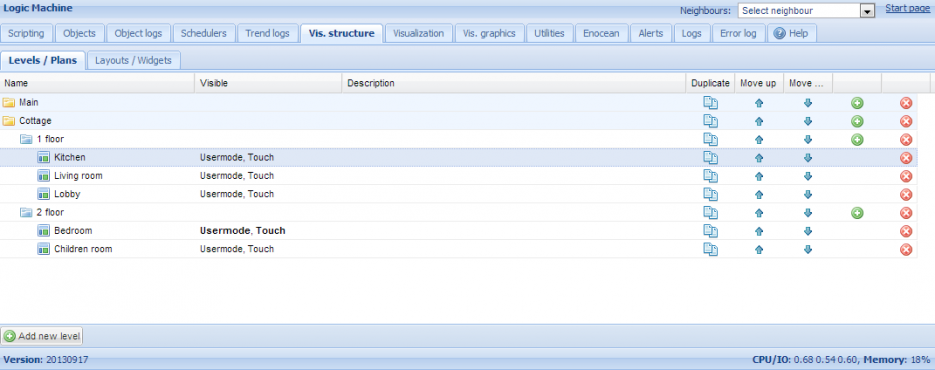
Create visualization structure in Logic Machine –> Vis.structure
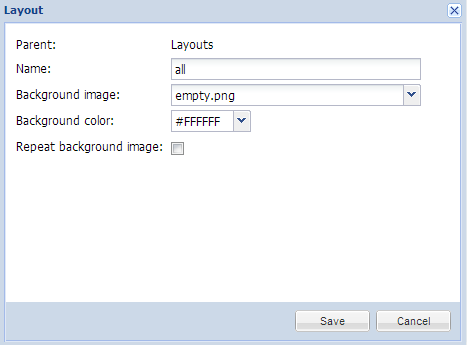
- In Layouts/Widgets submenu create a new layout which in this example will be used for all rooms.
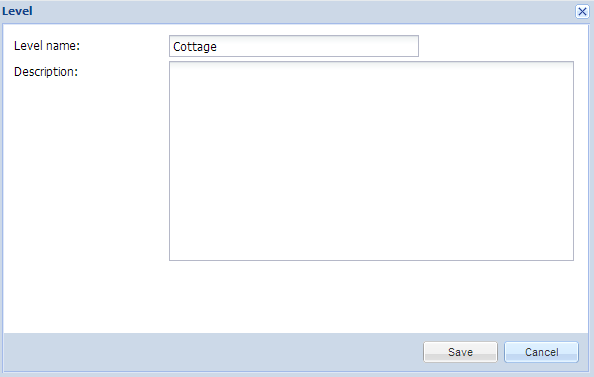
- In Levels/Plans submenu click on Add New Level button.
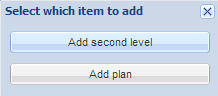
- Add two second levels by clicking on the + icon on the right side of Cottage entry. They will act as floors in this example.
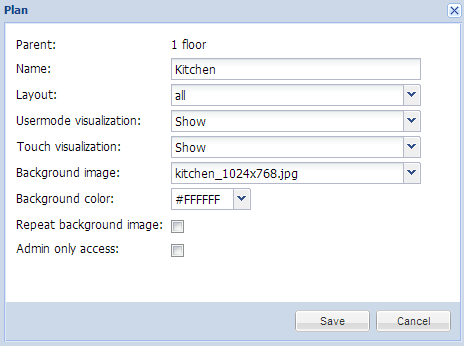
- Add Plans by clicking on + icon on the right side of the specific floor. Specify the layout all which was created before, and Background image.
- By end the Vis.structure should look like this
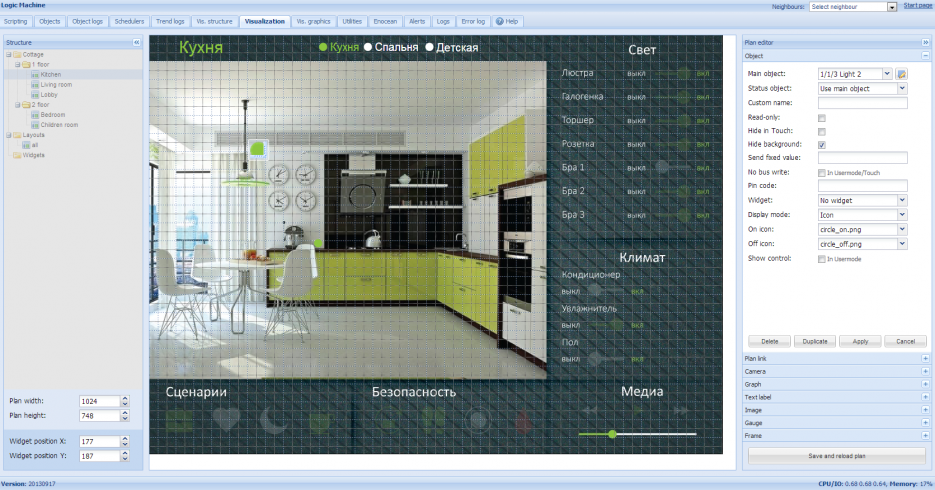
Add objects to newly created visualization map
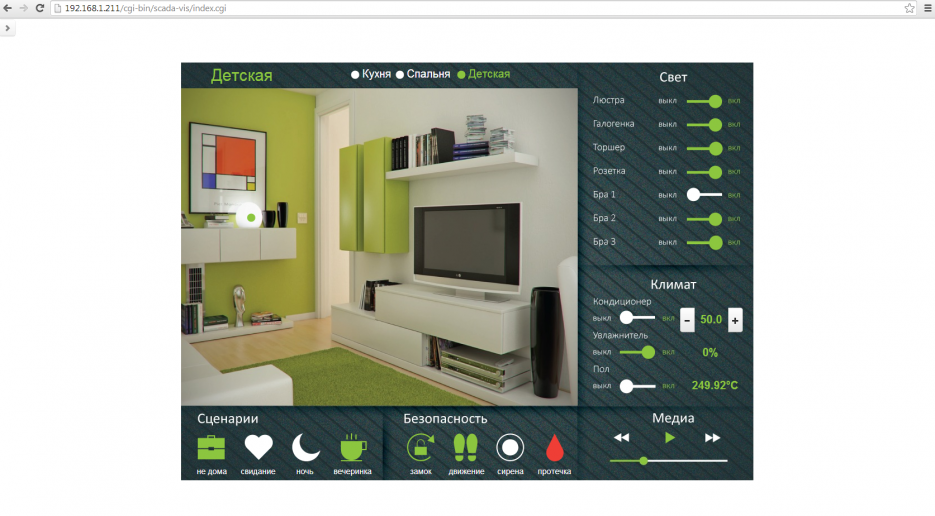
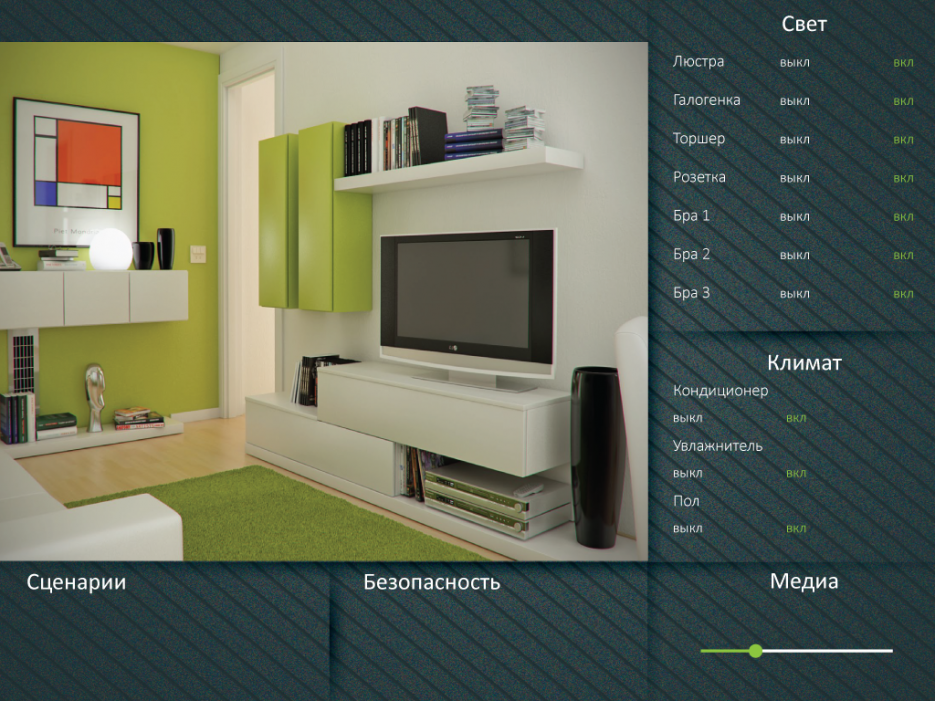
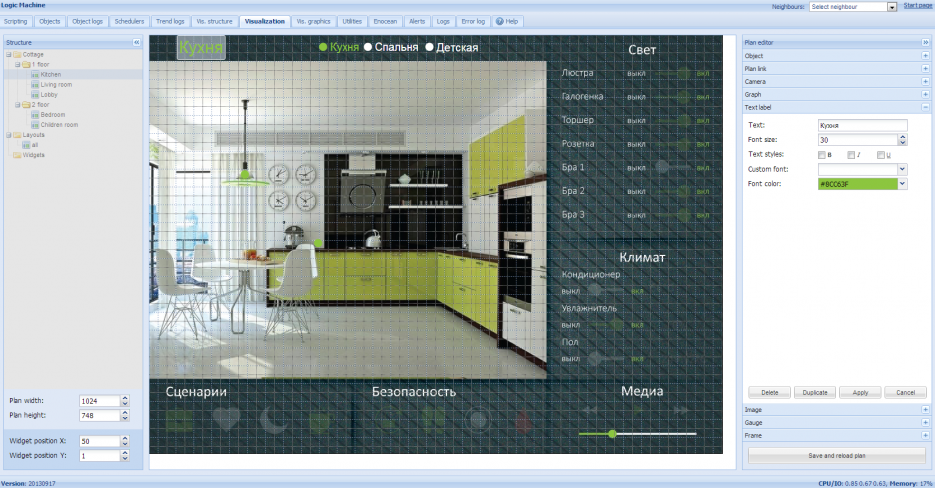
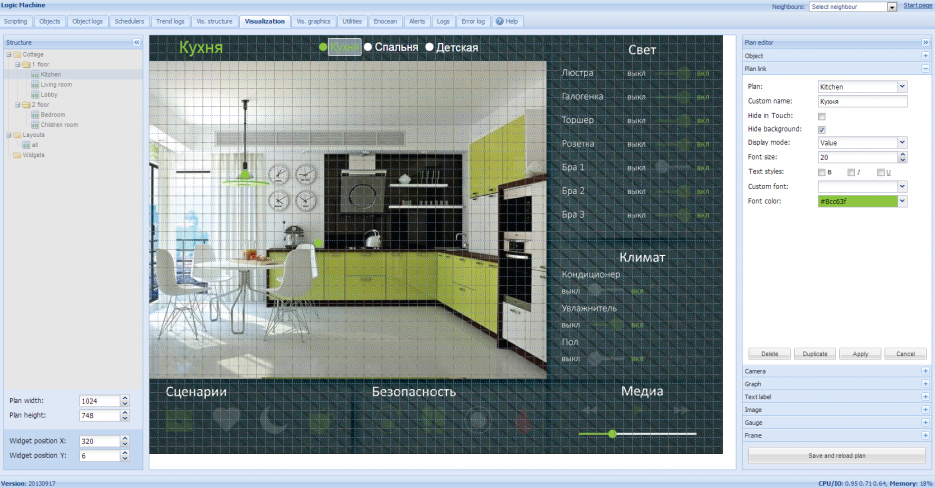
- In Visualization tab go to Layouts –> all and click on Unlock current plan for editing button and add all necessary controls as shown below
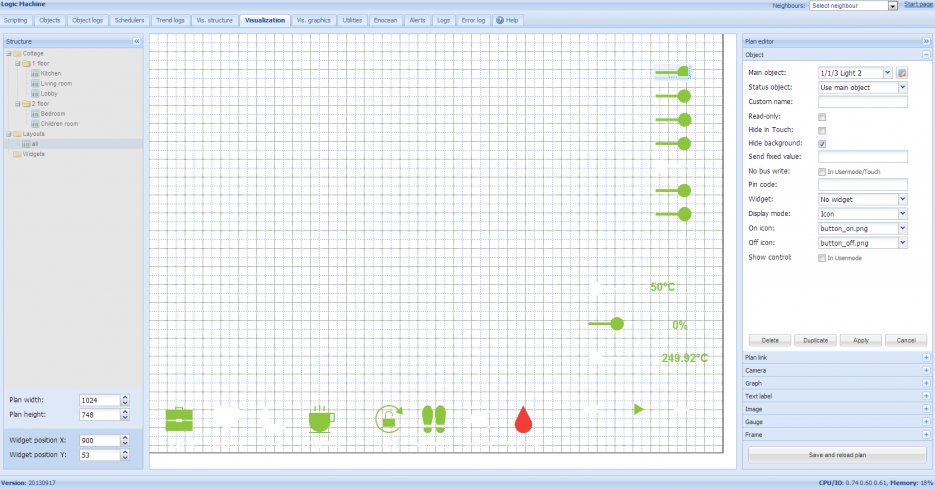
- Add Plan-specific objects in each of the Plans. Text labels:
- Add Plan links so you can use visualization without help of structure menu:
- Add Control objects for Lightings etc.:
Launching visualization on PC by typing Logic Machine IP and choosing User mode Visualization